So here we are at the third part of our tutorial. In this part we are going to look at 3 techniques: color filters, surface reflections and night photoshoots.
Let’s start with filters. There are two kinds — ones for lenses and ones for lights. The only good use of ones for lenses is b/w photography when you would like to remove certain wavelength to boost contrast. But the same can be done in Lightroom. Now, why even if you want to use just one filter it’s better to use one on the light and not on the lens:
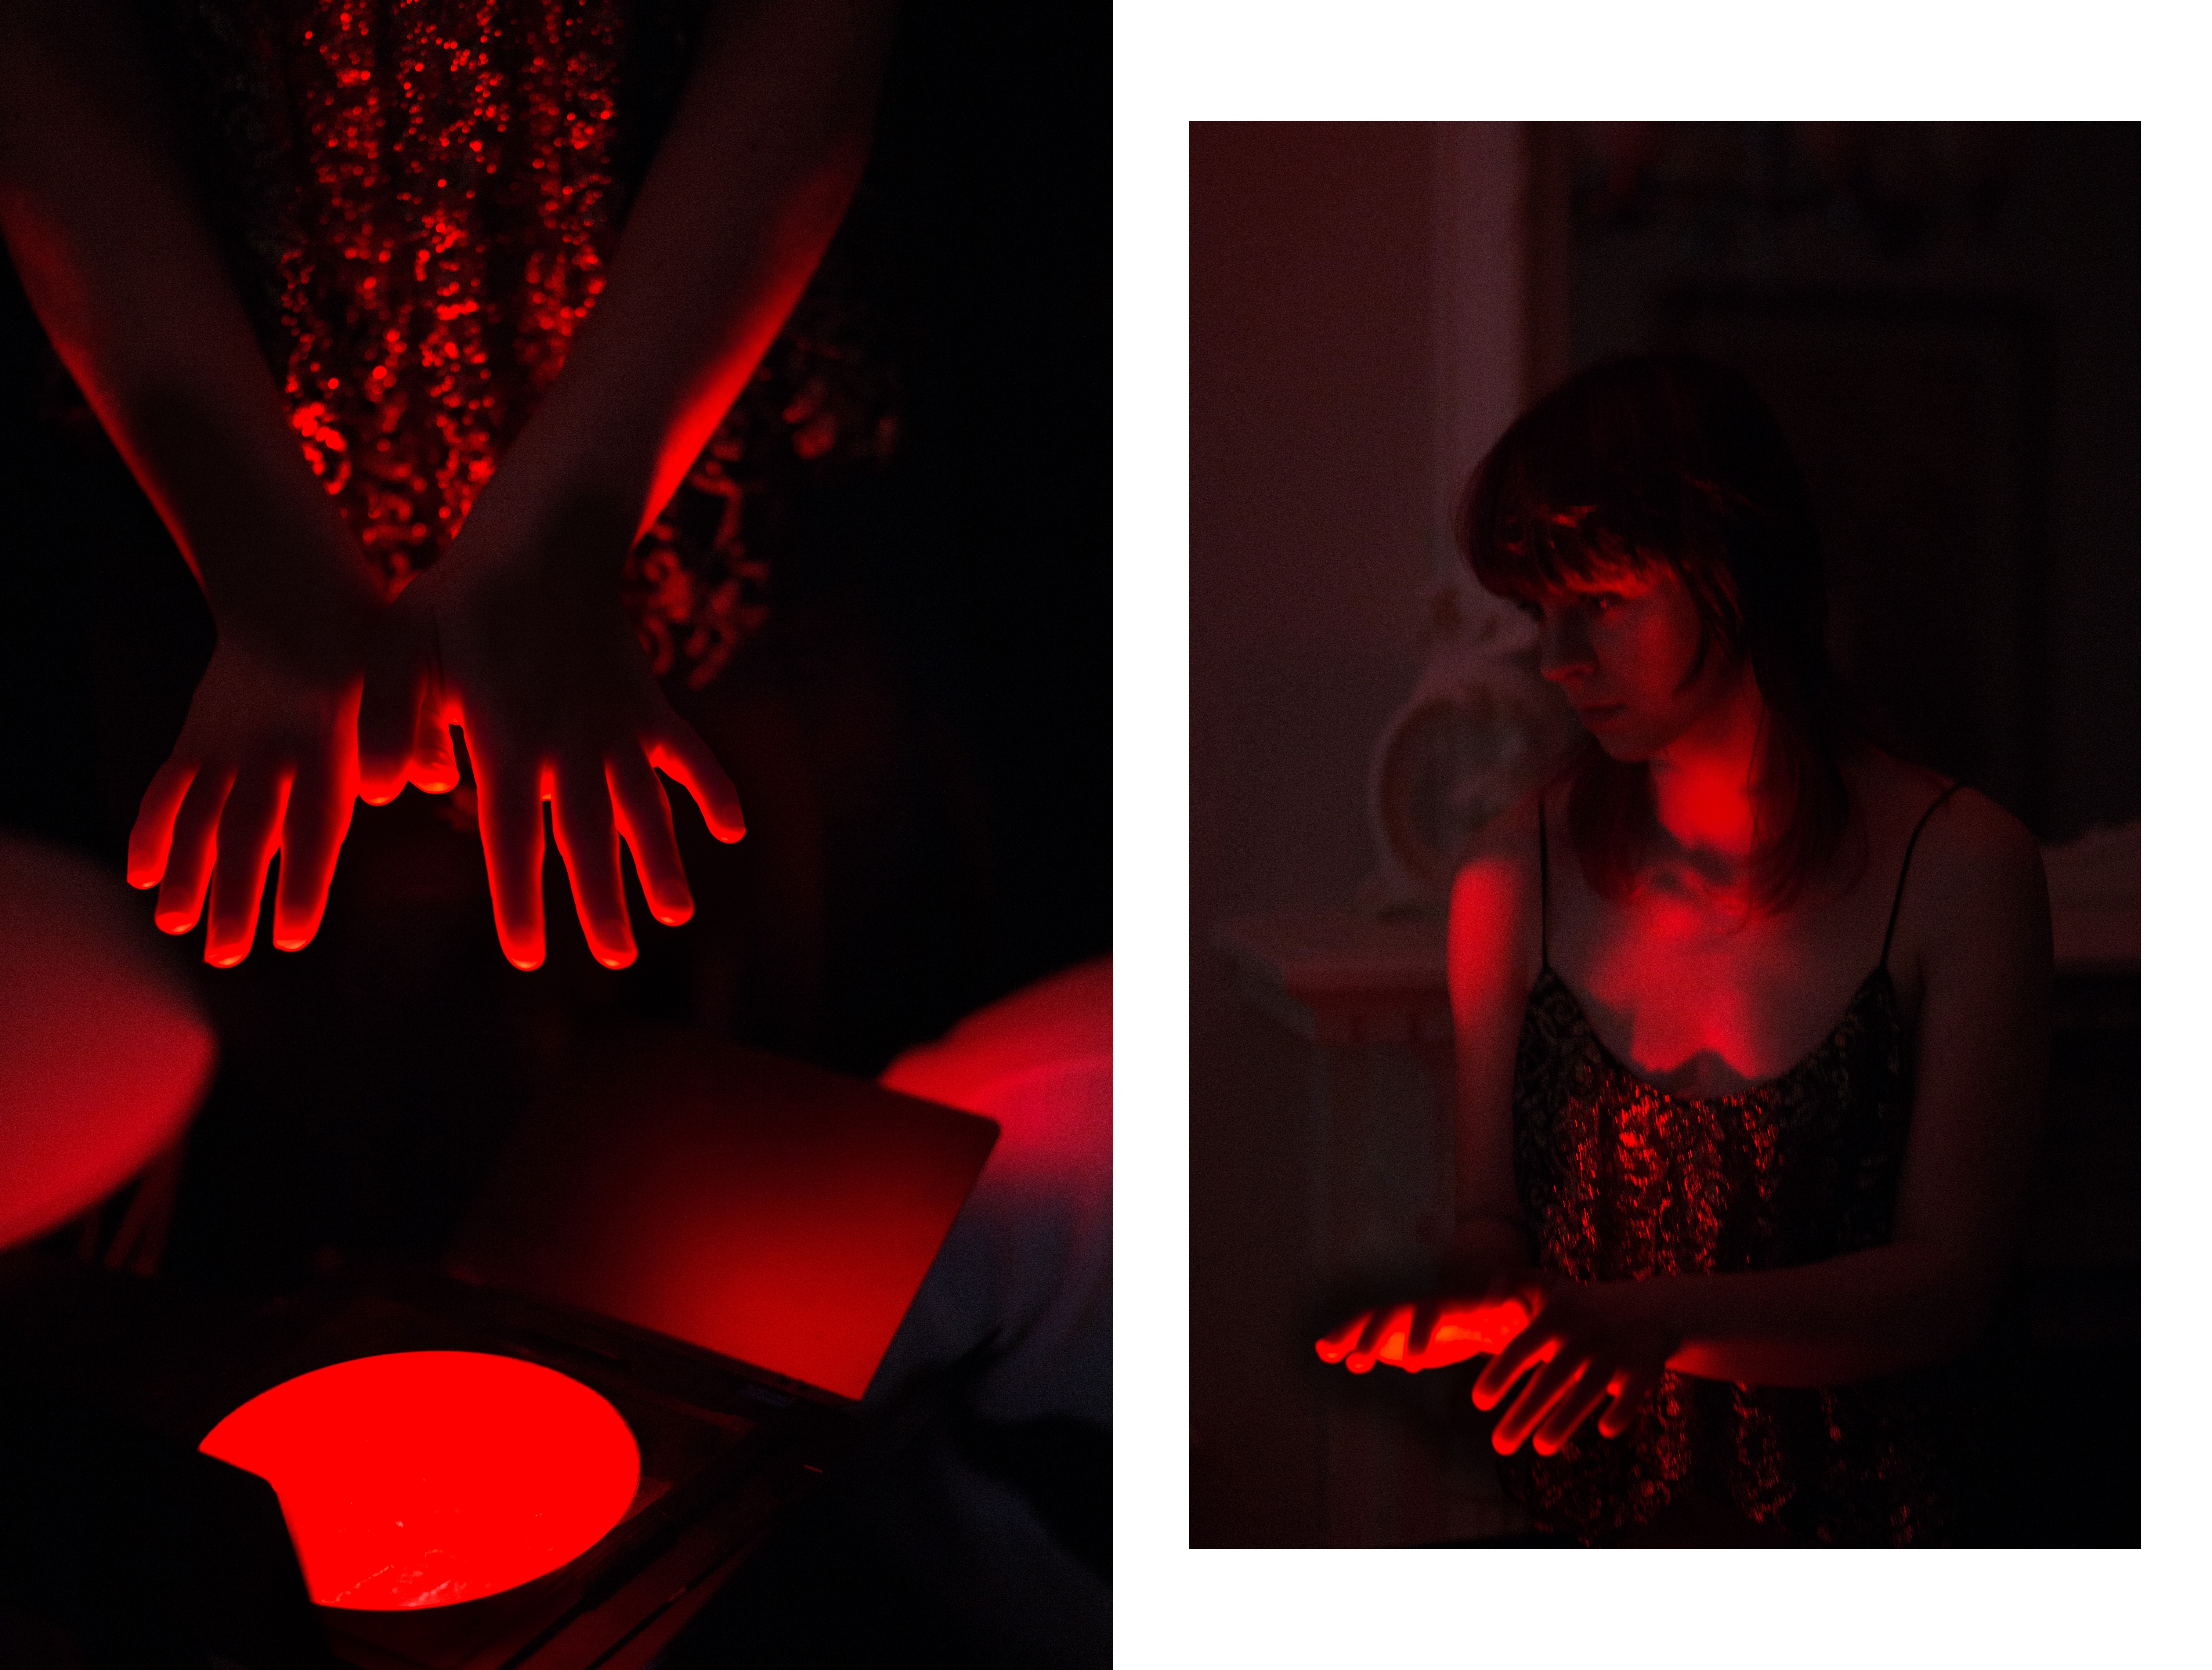
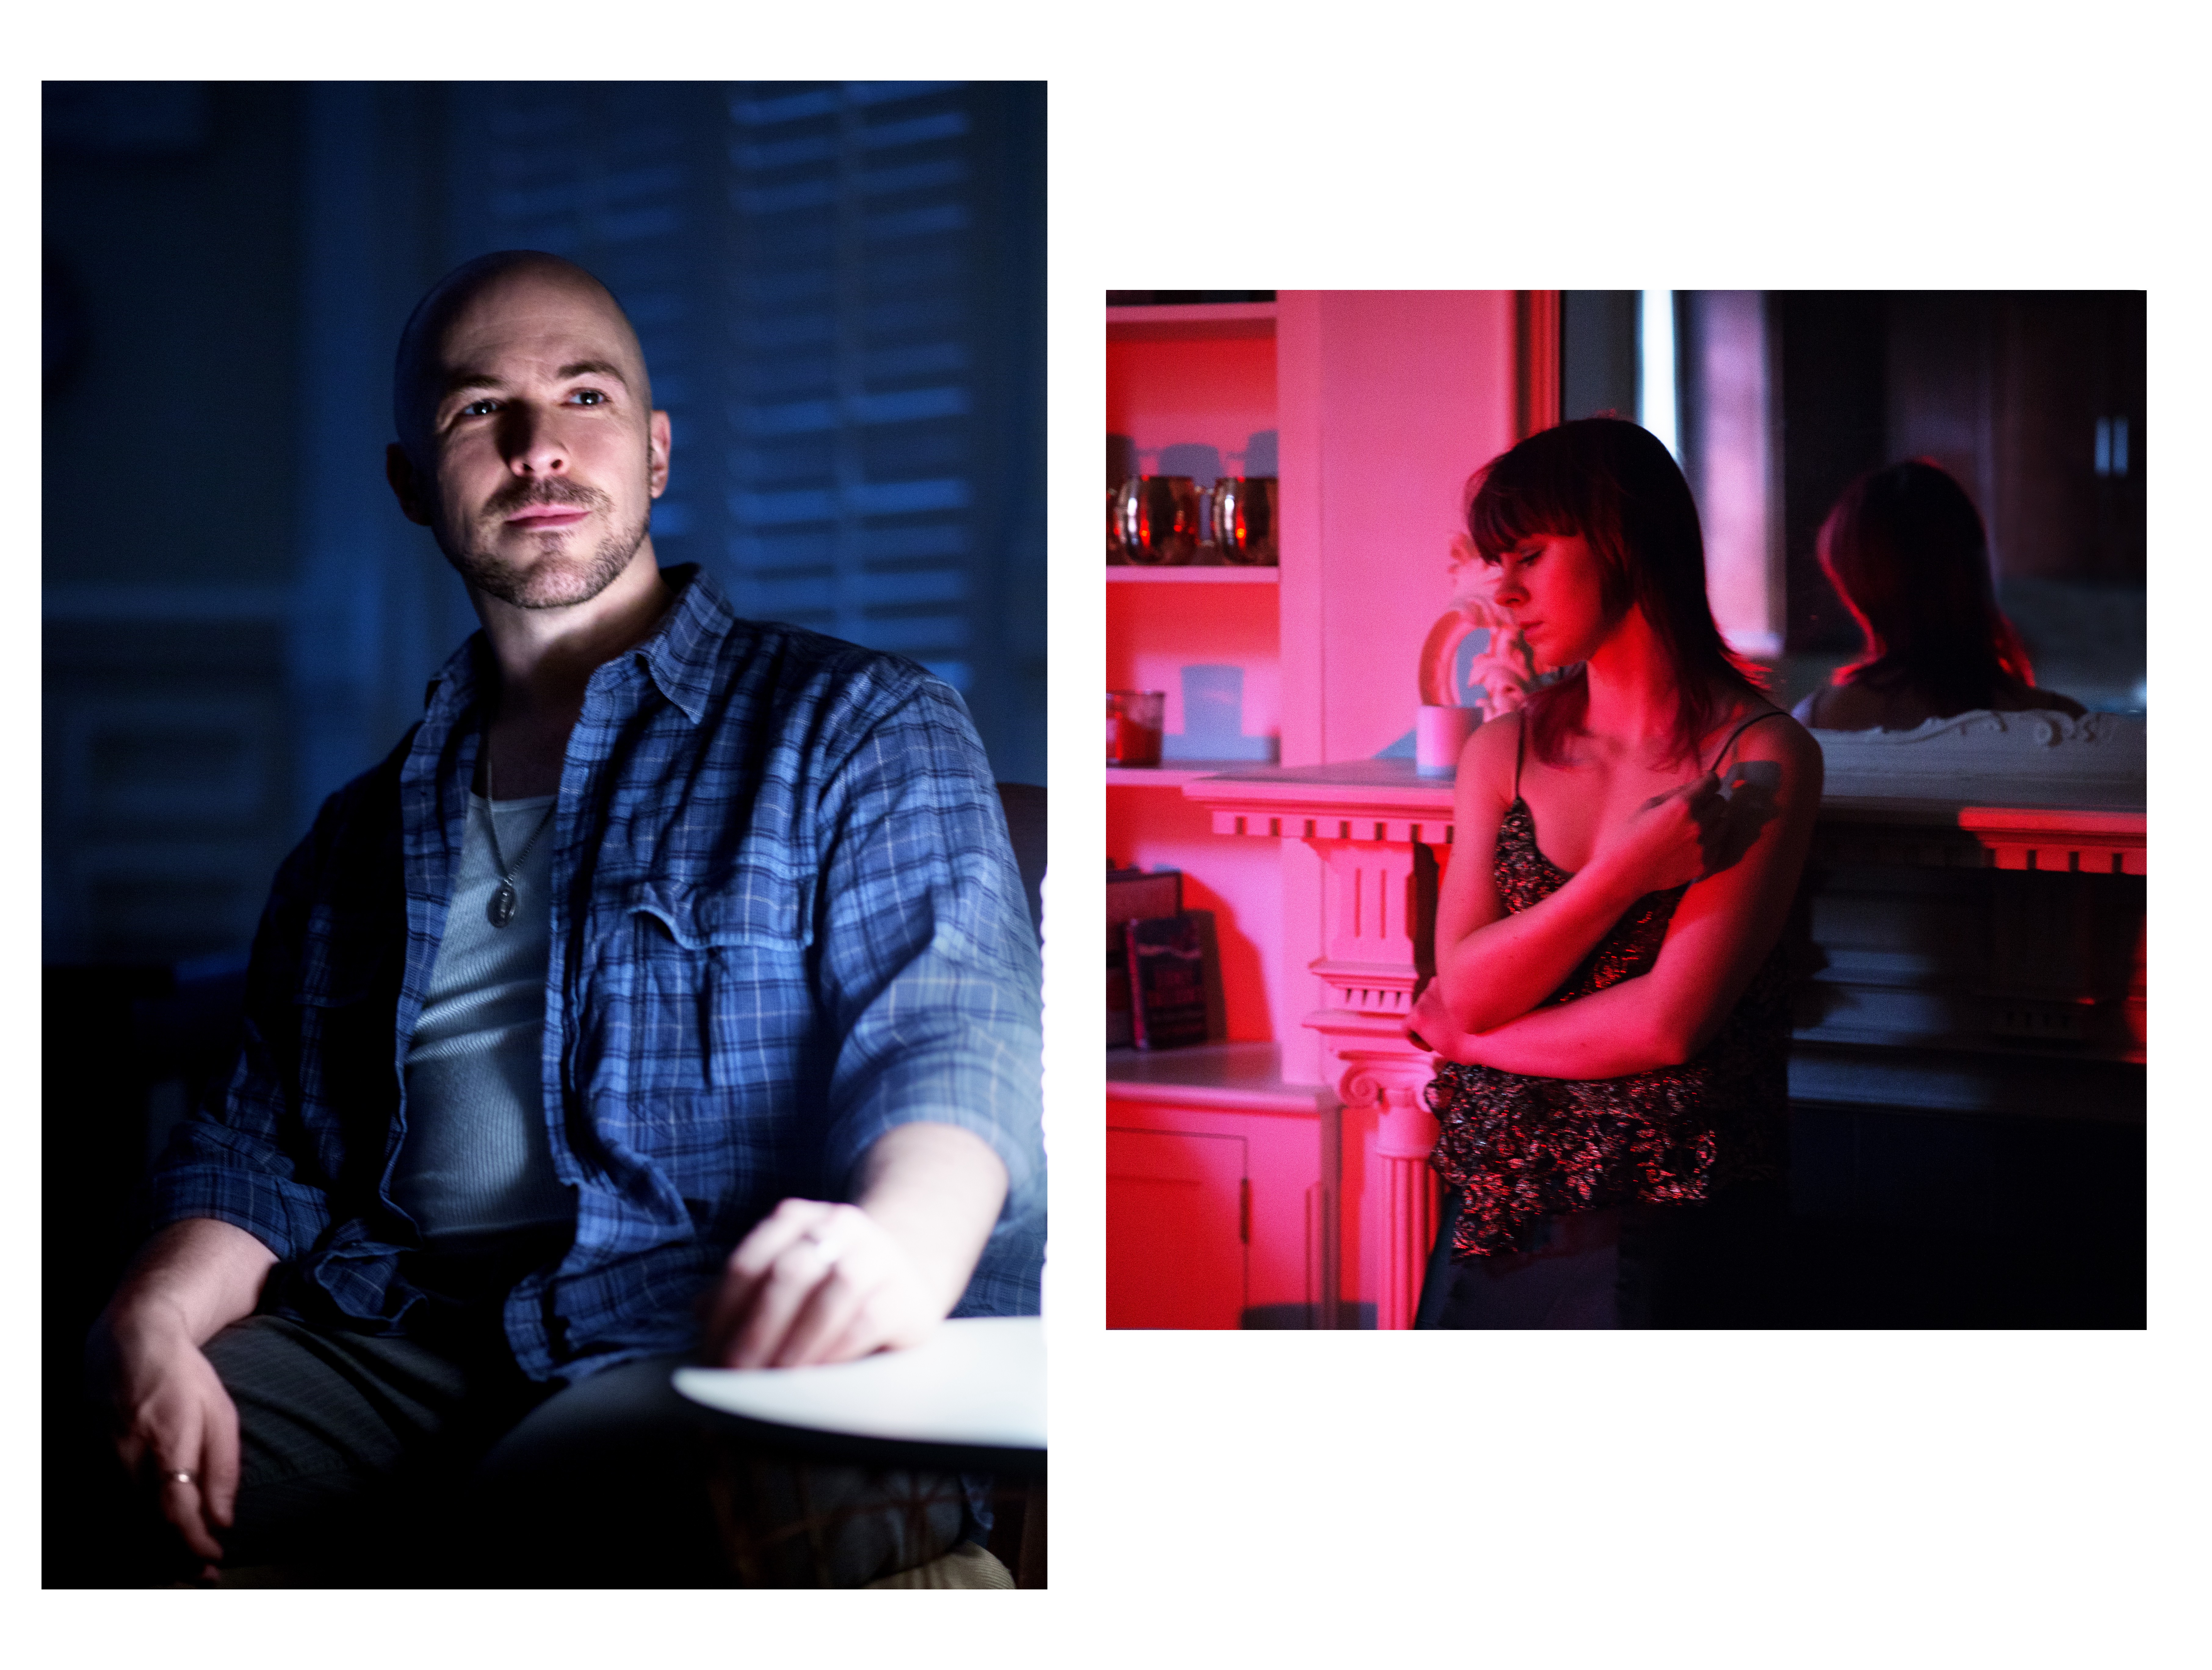
The background wall here has a mix of subtle ambient light and our red light giving the viewer a baseline that suggest that we really have a red warm “lamp” in neutral environment, visually separating our model from the backdrop.

Here (and on the lead picture) the idea was a bit more complicated. The story was inspired by a novel where everything happens in a dream and then a person wakes up. Red light created the space for the dream, first barely touched by “outer” natural light (lead) and then gradually being dissolved by it (as we opened blinds). Here is more about the story if you are curious.
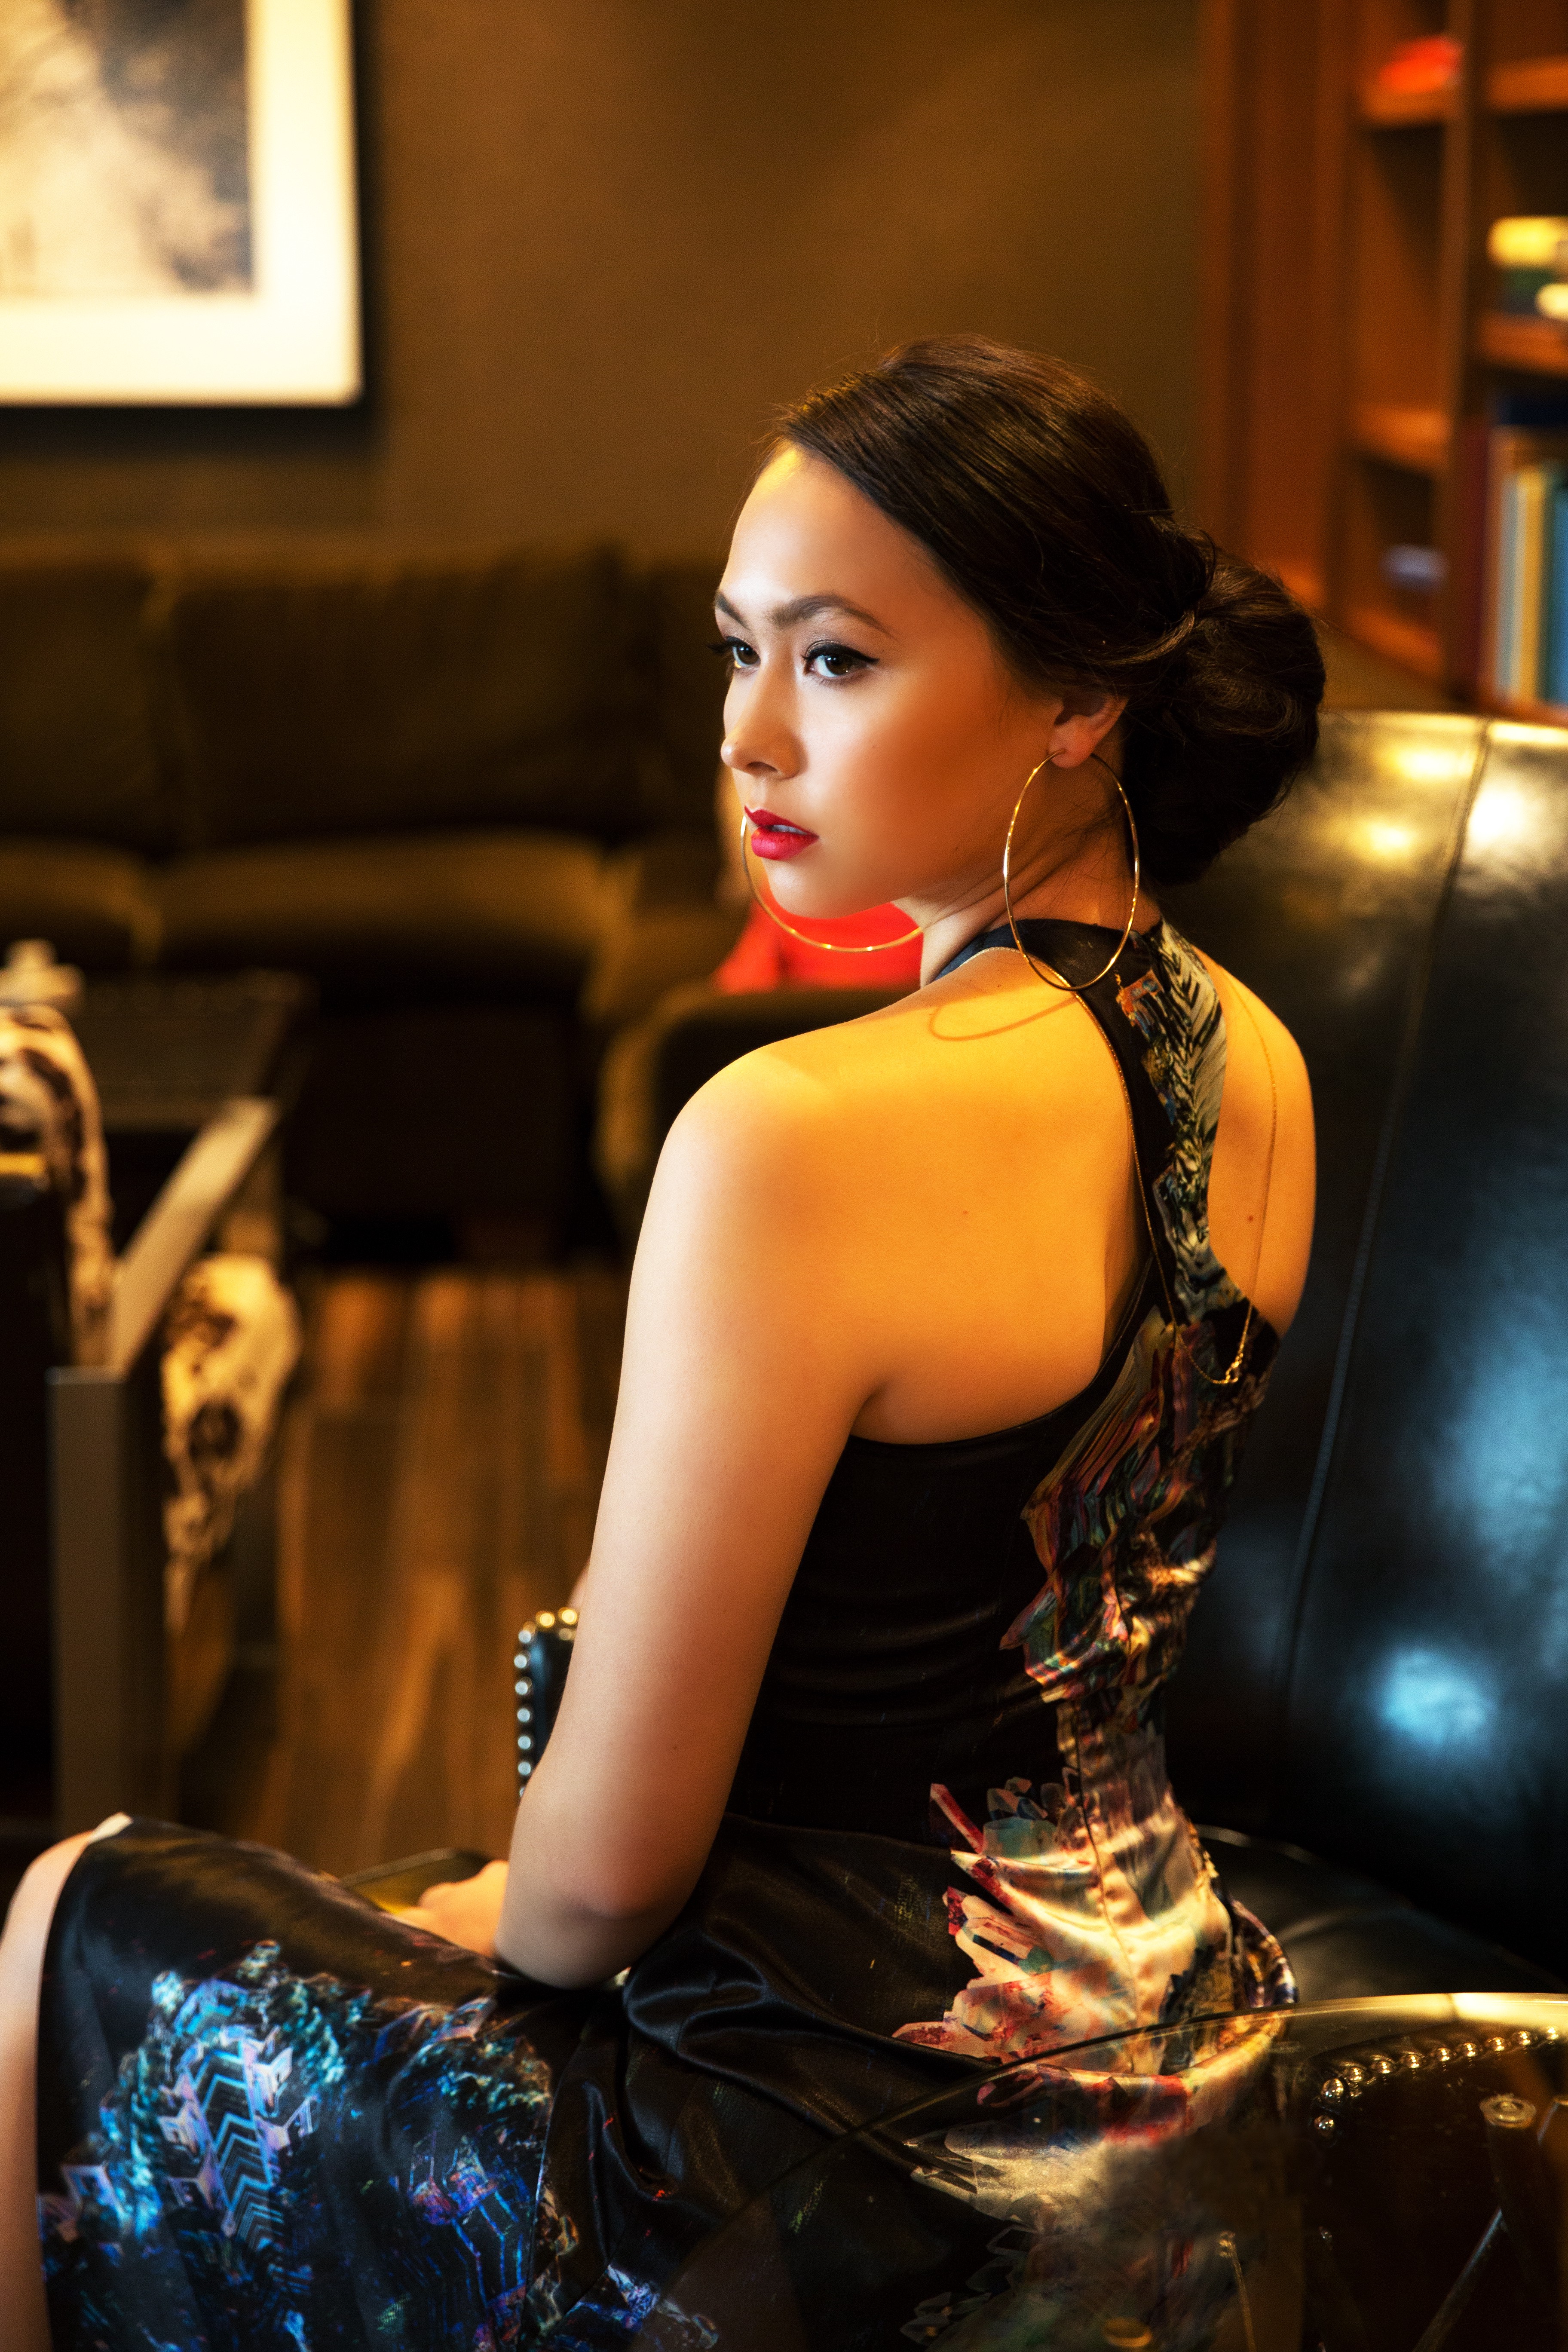
Outside filters, sometimes you can make the picture more interesting by mixing lights of different temperature. This is taken in a hotel lobby, natural light is a window and warm one is electric light in the room. Notice how I use neutral and more well-directed light on the face to avoid nasty shadows.
Final advice — not every light looks well with skin tone. Red is normally ok as well as warm-yellow, whereas green and sometimes blue can be problematic. I would of course use blue on the face, but for contouring and details, not to fill the face completely.
Have something to add about color filters and colored light? Contact me at aliona.kuz@gmail.com