Ok guys, today is the last chapter of Big Light Tutorial. After we finish with it I will focus on your questions about specific techniques for a while (ask here: aliona.kuz@gmail.com) and next we will do a bit more creative/inspirational tutorial inspired by a course from CalArts. Here we go..
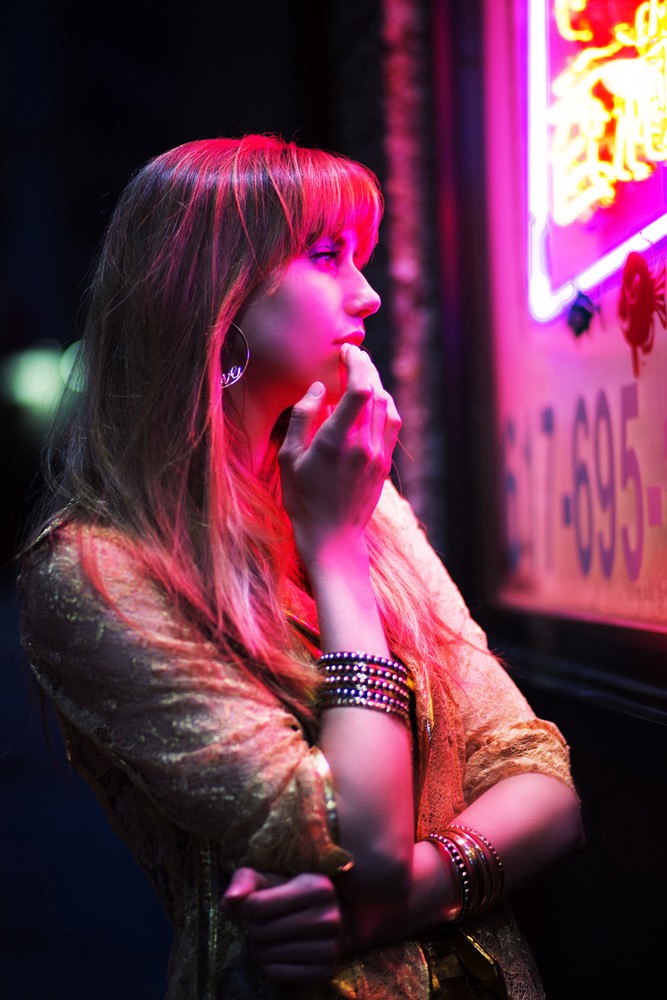
When working at night, we have three lighting options. The simplest one is to use neon signs or street light as a primary source. This approach works on busy city streets and with twilights more then night itself and also limits quite a lot your choice of pose and location.
Second option — on camera flash (mine is Canon Speedlite 430EX) It’s a cool source, but you have to be careful with it. When used direct (without ceiling or wall or add-on reflector) it tend to produce pictures which people have love/hate reaction to. So you can use bare flash if you look to create something edgy or provocative, but maybe not something polished
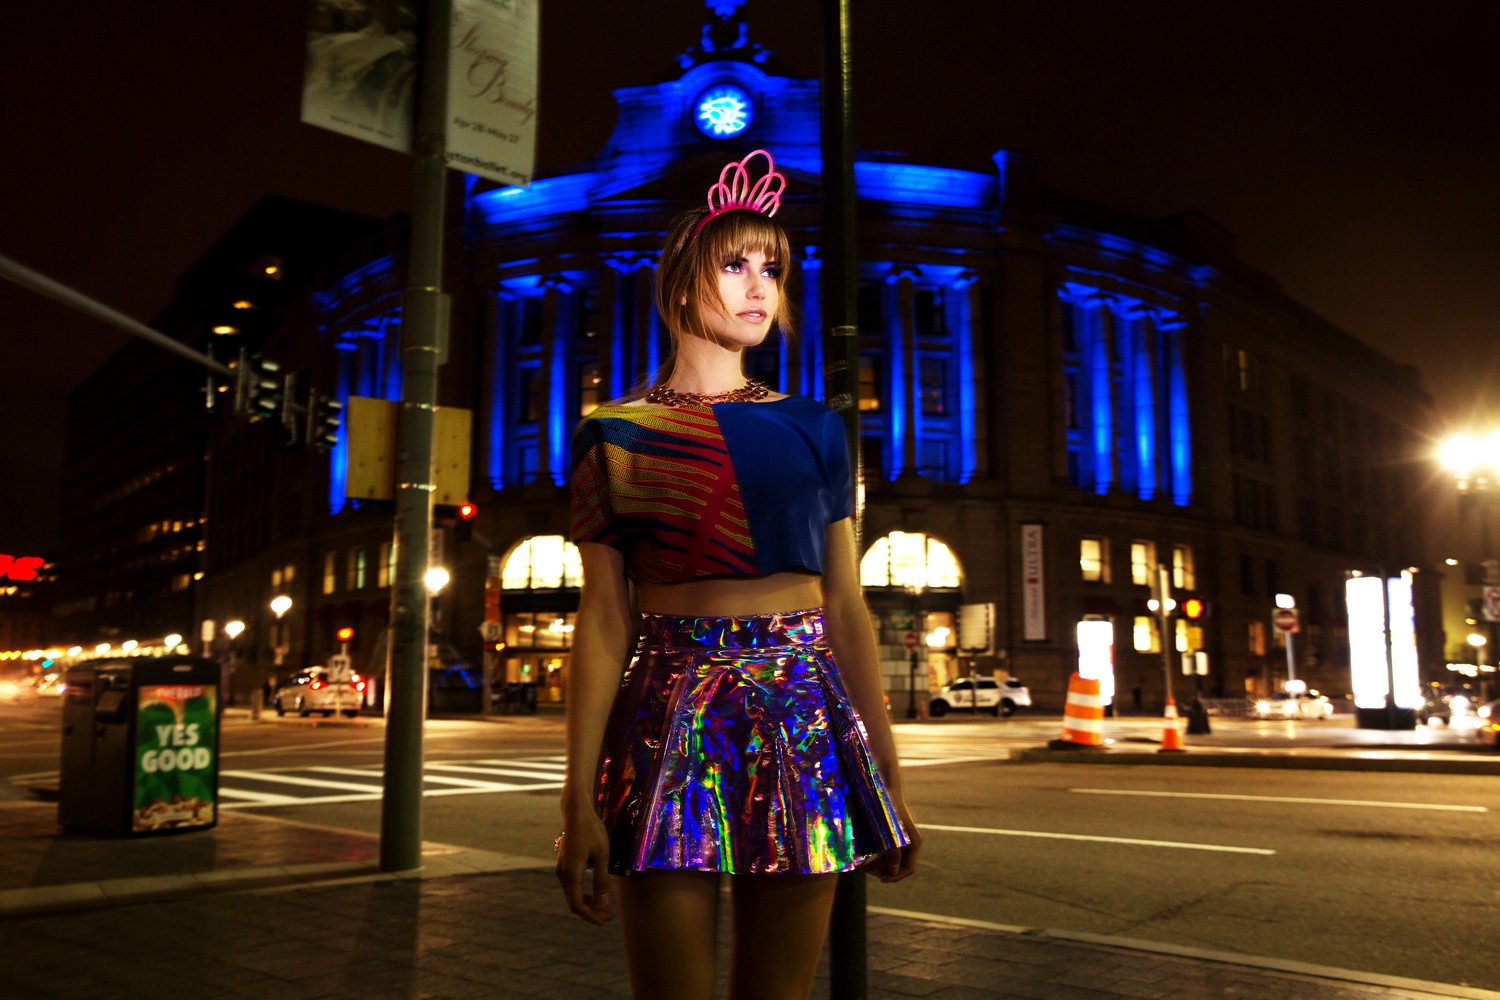
Finally the lead picture.
- First of all, I looked to have a backdrop light enough to balance my frame. I knew that South Station in Boston would give me space and good amount of night light so I went there.
- I used studio light with a battery and I put cone on it.
- I didn’t use tripod. I had an assistant carrying the whole thing — battery in a bag and light bulb with cone, that is rather light, which helped me to be dynamic and cut the set up time significantly (=have more locations).
- Battery is capable to give at least 300 flashes on max brightness, meaning over 2000 for 2–3 out of 6.
- Finally I prefer cone to umbrella here to have my light more dramatic and focused, which also allows me to use lower brightness.
That’s all I got for today:) For followup questions.